
1. 조건문
앤서블은 조건문을 사용하여 특정 조건이 충족될 때 작업 또는 플레이를 실행할 수 있습니다. 예를 들면 조건문을 사용하여 호스트의 운영체제 버전에 해당하는 서비스를 설치하는 식입니다. 앤서블에서 조건문을 사용할 때는 플레이 변수, 작업 변수, 앤서블 팩트 등을 사용할 수 있습니다.
참조 링크 : https://docs.ansible.com/ansible/latest/playbook_guide/playbooks_conditionals.html
#1. when 문
- 조건이 충족되면 작업이 실행되고, 조건이 충족되지 않으면 작업을 건너뜁니다.
- when 문을 테스트하는 가장 간단한 조건 중 하나는 Boolean 변수가 true인지 false인지 여부에 대한 판별입니다.
1) 플레이북 생성
~/my-ansible/when_task.yml
---
- hosts: localhost
  vars:
    run_my_task: true

  tasks:
  - name: echo message
    ansible.builtin.shell: "echo test"
    when: run_my_task
    register: result

  - name: Show result
    ansible.builtin.debug:
      var: result
2) 실행
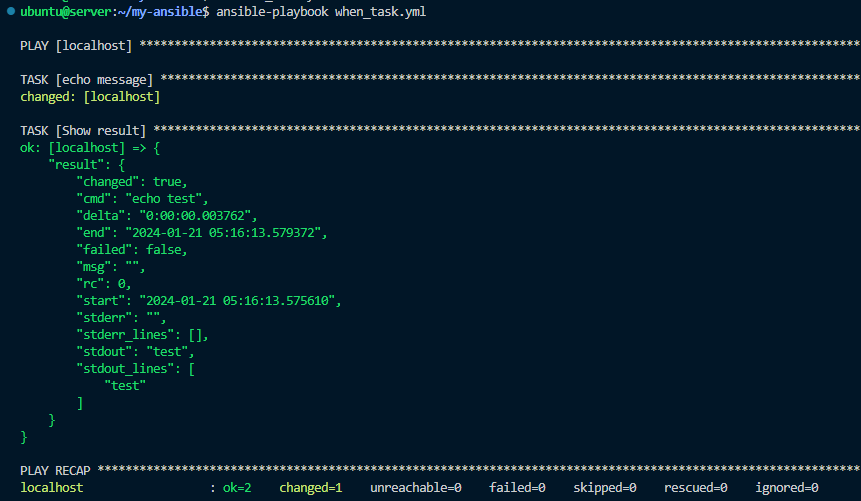
3) run_my_task 값을 false 수정 후 실행 확인
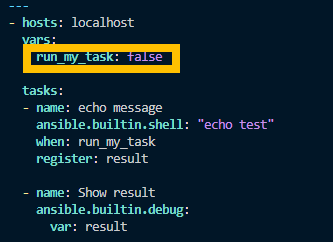
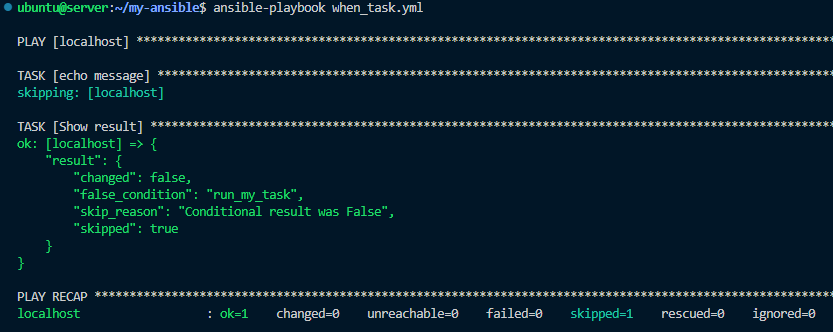
4) 실행
- 해당 태스크를 스킵
|
연산 예시
|
설명
|
|
ansible_facts[’machine’] == “x86_64”
|
ansible_facts[’machine’] 값이 x86_64와 같으면 true
|
|
max_memory == 512
|
max_memory 값이 512와 같다면 true
|
|
|
min_memory 값이 128보다 작으면 true
|
|
min_memory > 256
|
min_memory 값이 256보다 크면 true
|
|
min_memory <= 256
|
min_memory 값이 256보다 작거나 같으면 true
|
|
min_memory >= 512
|
min_memory 값이 512보다 크거나 같으면 true
|
|
min_memory != 512
|
min_memory 값이 512와 같지 않으면 true
|
|
min_memory is defined
|
min_memory 라는 변수가 있으면 true
|
|
min_memory is not defined
|
min_memory 라는 변수가 없으면 true
|
|
memory_available
|
memory 값이 true이며 true, 이때 해당 값이 1이거나 True 또는 yes면 true
|
|
not memory_available
|
memory 값이 false이며 true, 이때 해당 값이 0이거나 False 또는 no면 true
|
|
ansible_facts[’distribution’] in supported_distros
|
ansible_facts[’distribution’]의 값이 supported_distros 라는 변수에 있으면 true
|
#2. OS 종류에 따라 태스크를 수행하는 예제
1) 플레이북 파일 생성 : vars 키워드로 supported_distros라는 변수를 사전 타입의 값으로 저장합니다.
- 태스크의 when 구문에서 ansible_facts[’distribution’] in supported_distros라는 조건문을 추가합니다.
~/my-ansible/check-os.yml
---
- hosts: all
  vars:
    supported_distros:
      - Ubuntu
      - CentOS

  tasks:
    - name: Print supported os
      ansible.builtin.debug:
        msg: "This {{ ansible_facts['distribution'] }} need to use apt"
      when: ansible_facts['distribution'] in supported_distros
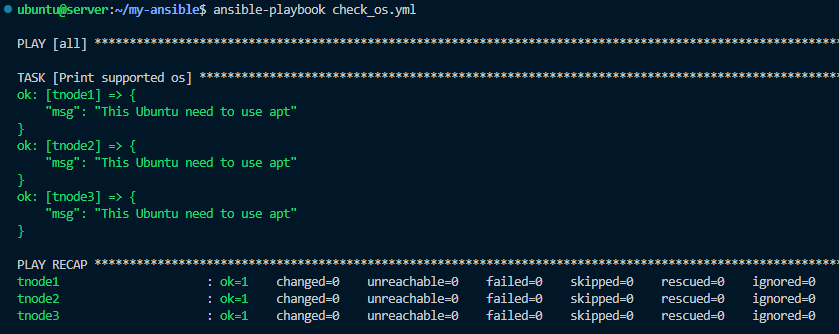
2) 실행
ansible_facts['distribution' 값이 ‘Ubuntu’ 나 ‘CentOS’ 면 출력(테스트 수행)
#3. 복수 조건문
- 예를 들어, CentOS이고 서버 타입이 x86_64일 경우에만 작업이 실행되게 구성할 수 있습니다.
- OS가 운영체제가 CentOS이거나 우분투일 경우 작업이 수행되는 플레이북을 만들어 보겠습니다.
1) 플레이북 생성
---
- hosts: all

  tasks:
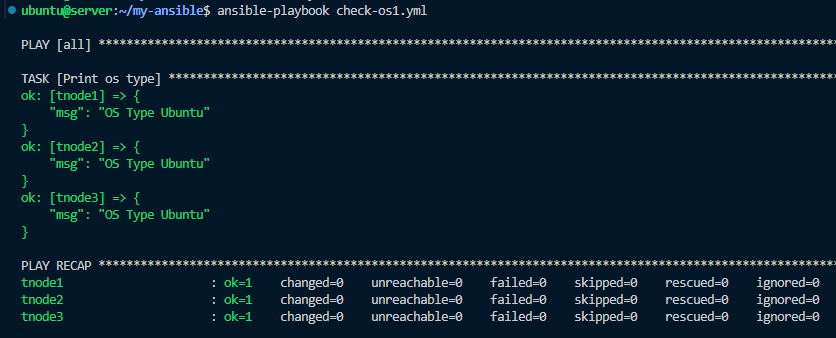
    - name: Print os type
      ansible.builtin.debug:
        msg: "OS Type {{ ansible_facts['distribution'] }}"
      when: ansible_facts['distribution'] == "CentOS" or ansible_facts['distribution'] == "Ubuntu"
2) 실행
3) 플레이북 생성
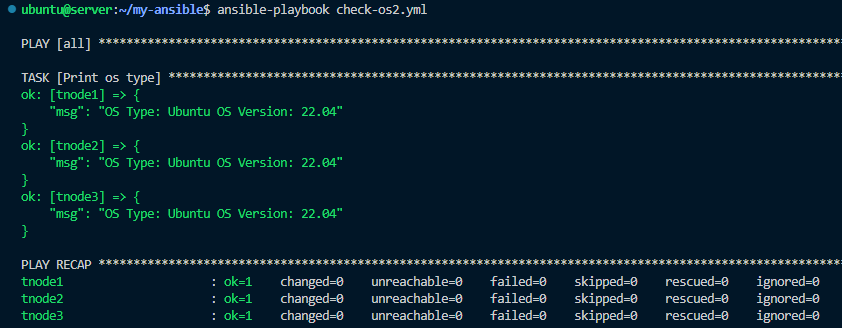
Ubuntu 이고, Version이 22.04 이 경우만 작업 수행 되게 and 연산자 사용하도록 플레이북을 만들어 보겠습니다.
~/my-ansible/check-os2.yml
---
- hosts: all

  tasks:
    - name: Print os type
      ansible.builtin.debug:
        msg: >-
             OS Type: {{ ansible_facts['distribution'] }}
             OS Version: {{ ansible_facts['distribution_version'] }}
      when: ansible_facts['distribution'] == "Ubuntu" and ansible_facts['distribution_version'] == "22.04"
4) 실행
5) 플레이북 생성
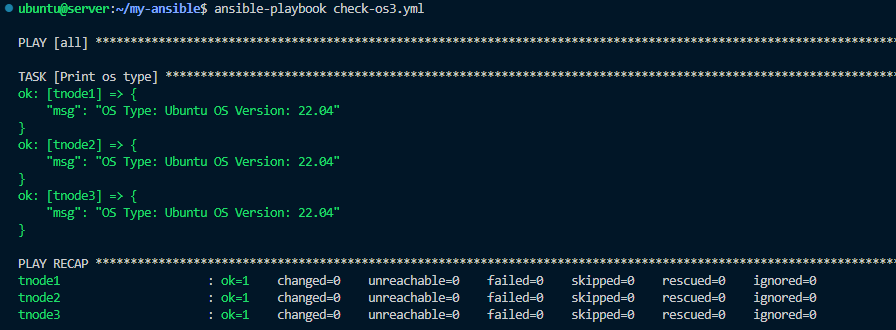
and 연산자의 딕셔너리 형태의 목록 표현 방법 역시 가능합니다.
~/my-ansible/check-os3.yml
---
- hosts: all

  tasks:
    - name: Print os type
      ansible.builtin.debug:
        msg: >-
             OS Type: {{ ansible_facts['distribution'] }}
             OS Version: {{ ansible_facts['distribution_version'] }}
      when:
        - ansible_facts['distribution'] == "Ubuntu"
        - ansible_facts['distribution_version'] == "22.04"
6) 실행
7) 플레이북 생성
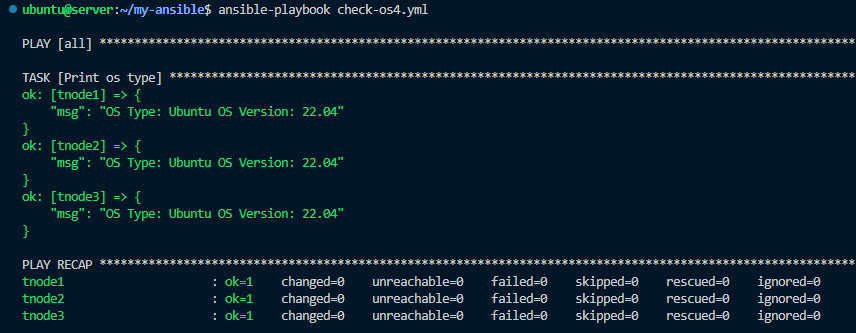
다음 플레이북은 and / or 연산자를 함께 사용한 예제로, CentOS이면서 8 이거나, Ubuntu이면서 22.04인 경우를 표현합니다.
~/my-ansible/check-os4.yml
---
- hosts: all

  tasks:
    - name: Print os type
      ansible.builtin.debug:
        msg: >-
             OS Type: {{ ansible_facts['distribution'] }}
             OS Version: {{ ansible_facts['distribution_version'] }}
      when: >
          ( ansible_facts['distribution'] == "CentOS" and
            ansible_facts['distribution_version'] == "8" )
          or
          ( ansible_facts['distribution'] == "Ubuntu" and
            ansible_facts['distribution_version'] == "22.04" )
8) 실행
#4. 반복문과 조건문을 함께 사용하기
ansible.builtin.command
참조 링크 : https://docs.ansible.com/ansible/latest/collections/ansible/builtin/command_module.html
1) 플레이북 생성
when 문의 item[’mount’]은 loop문에서 선언한 ansible_facts의 mounts 중 mount 값과 size_available 값을 사용해 구현합니다.
~/my-ansible/check-mount.yml
---
- hosts: db
  tasks:
    - name: Print Root Directory Size
      ansible.builtin.debug:
        msg: "Directory {{ item.mount }} size is {{ item.size_available }}"
      loop: "{{ ansible_facts['mounts'] }}"
      when: item['mount'] == "/" and item['size_available'] > 300000000
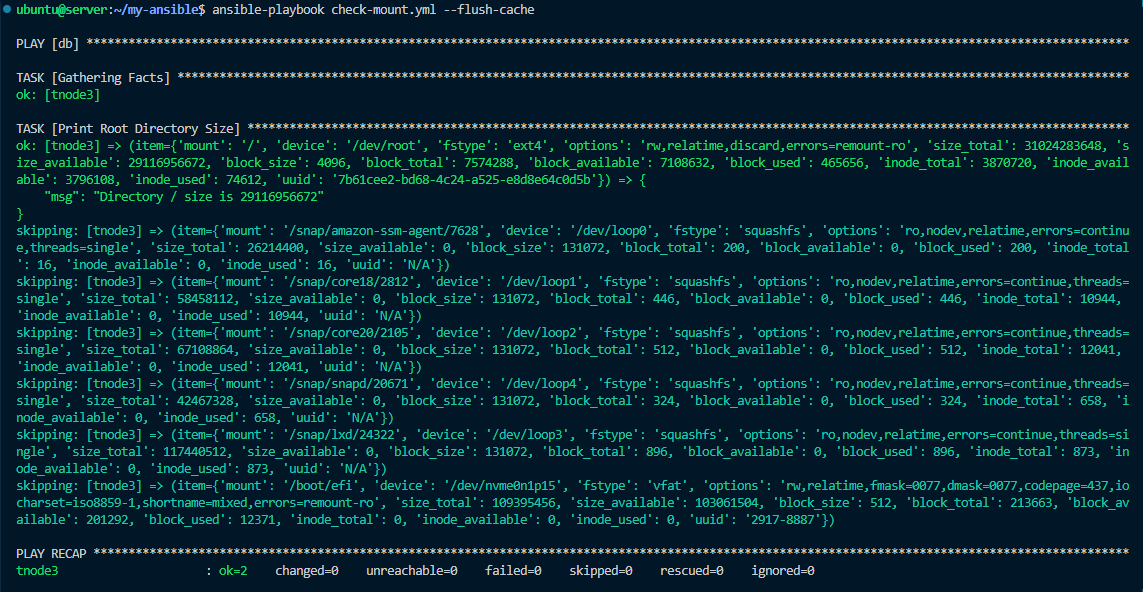
2) 실행
앤서블 팩트에서 mounts라는 사전 타입의 변숫값을 반복하면서 mount가 ‘/’이고 size_available 값이 ‘300000000’(300메가) 보다 큰 경우에만 메시지를 출력하고, 그렇지 않을 경우에는 작업을 건너뜁니다.
모니터링을 위해서 터미널을 아까와 동일하게 하나 더 띄워줍니다.
watch -d -n 1 ls -l ~/my-ansible/myfacts
하기 이미지는 터미널 2에서 보이는 모습입니다.

3) 플레이북 생성
systemctl 명령어로 rsyslog가 active인지를 체크하여 해당 결과를 result 변수에 저장하고, Print rsyslog status 태스크에서 result.stdout 값이 active 일 경우에만 해당 값을 출력합니다.
~/my-ansible/register-when.yml
---
- hosts: all

  tasks:
    - name: Get rsyslog service status
      ansible.builtin.command: systemctl is-active rsyslog
      register: result

    - name: Print rsyslog status
      ansible.builtin.debug:
        msg: "Rsyslog status is {{ result.stdout }}"
      when: result.stdout == "active"
4) 실행
실행 후 모든 대상 노드에서 rsyslog가 active하다는 내용을 수신한 것을 확인할 수 있습니다.

감사합니다.
'DevOps > Ansible' 카테고리의 다른 글
| [Ansible 101] 앤서블 블록 및 오류처리 (0) | 2024.01.21 |
|---|---|
| [Ansible 101] 핸들러 및 작업 실패 처리 (0) | 2024.01.21 |
| [Ansible 101] 반복문 (2) | 2024.01.21 |
| [Ansible 101 스터디] 앤서블 1주차 기본 실습 (변수) (6) | 2024.01.14 |
| [Ansible 101 스터디] 앤서블 1주차 기본 실습 (인벤토리, 플레이북) (3) | 2024.01.14 |
